Yesterday was the day to make cake pops. I thought it looked pretty simple and easy, but on the contrary it was hard work.
Ingredients Needed
*1 Box cake mix
*Water, vegetable oil, and egg; called for on cake box
*1 Package frosting
*Candy Melt
*Lollipop sticks
*Bock of foam
*Sprinkles, extra frosting for decorating


The next step was to let the cakes cool and then put all the cake in a bowl and mix in the frosting. I used chocolate frosting to go with the chocolate cake; any frosting can work, it all depends on the craving you are having that day. :)

The batter for the cake pops will look a little like a cake that kids have crushed but that is what makes them beautiful in the end. You can roll the dough into balls any size you would like. What I found out later on was the smaller the easier to work with. I actually used a mini muffin tin to hold all the balls in and it worked pretty well but made the tops of them a little flat. Also, you will need to know it is easier if you freeze the balls before trying to dip then in the chocolate.


I melted the chocolate over boiling water to have the steam melt the chocolate, rather than melting the chocolate in the microwave.
I was very aggravated during the first try yesterday when my chocolate was lumping. I think it was due to the chocolate starting to cool, the sticks not staying in the cake dough, and the cake being semi-cold.
What you will need to do before you dip the pops in the chocolate is put the stick into the chocolate about an inch, then stick that into the cake to act like a glue.

These were the first ones and as you can see they are lumpy and do not look as good as the pictures below.
Today I decided to take another stab at perfecting the cake pop. Surprisingly, they worked out very well. I got a styrofoam board to hold the pops in to cool instead of using a card board box, which I had the day before and did not work too well.


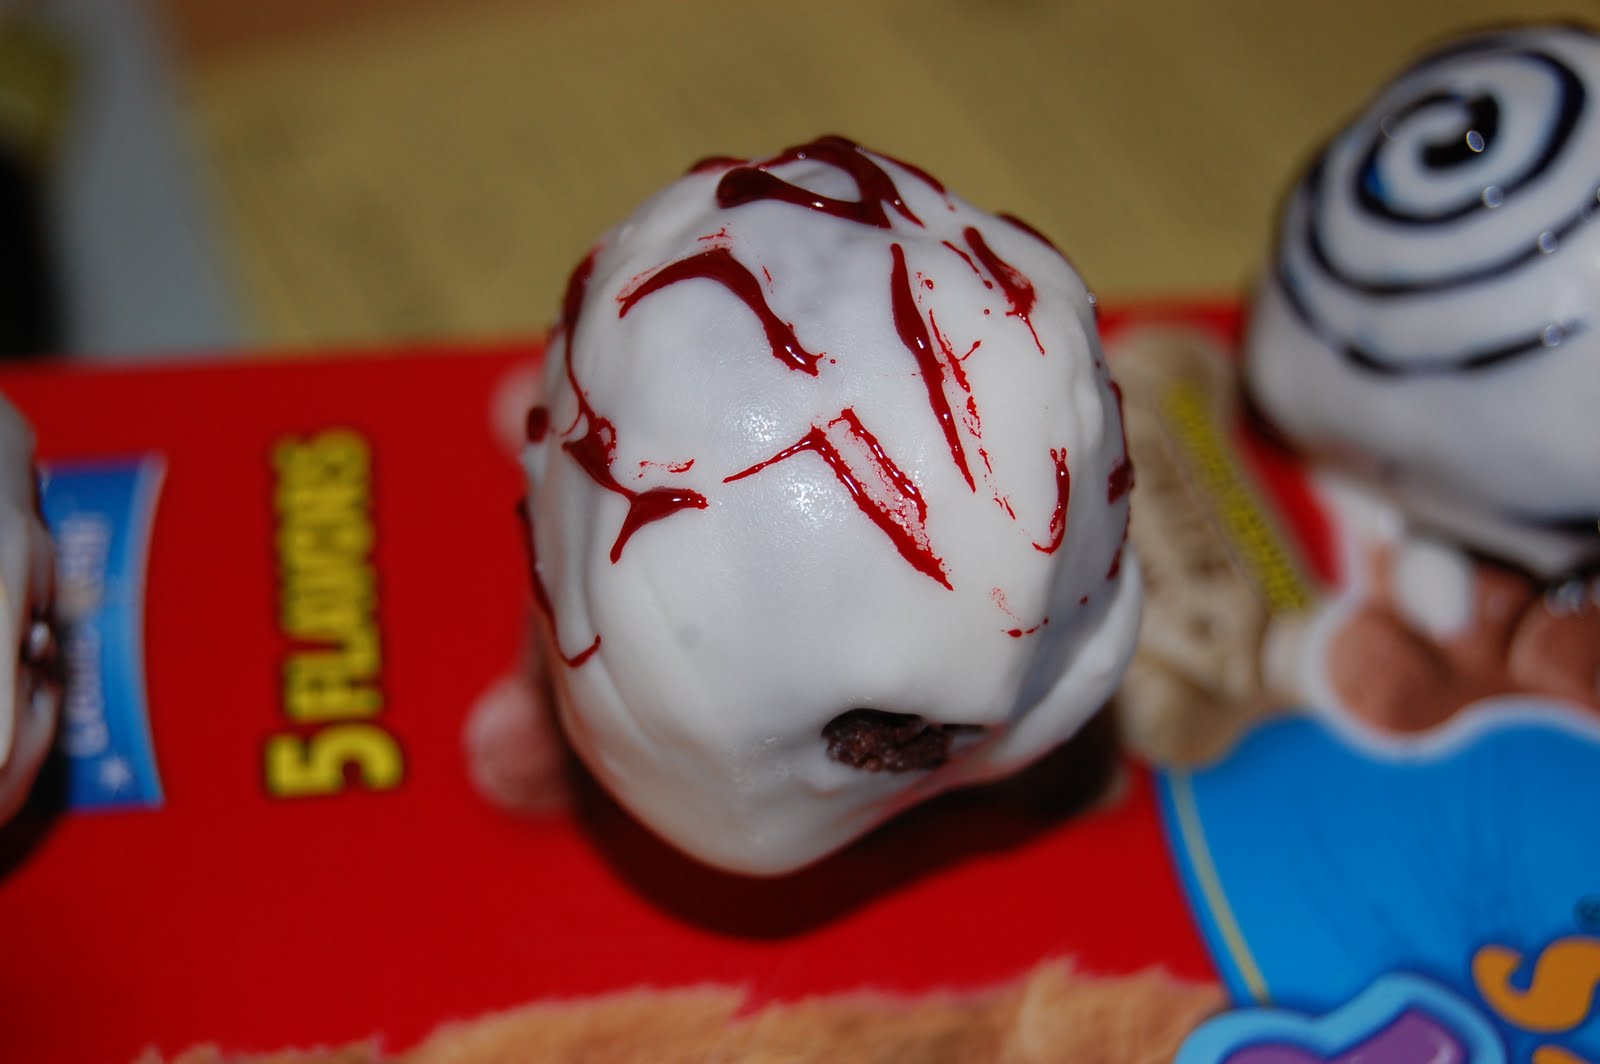
These were the finished product today. You can add more chocolate onto them, sprinkles, designs made out of frosting, or anything creative you can come up with.
My final step was to put saran wrap around each one and then put my blog on the stem along with pink ribbon.


I hope you enjoy and the full recipe is on the Betty Crocker website.
No comments:
Post a Comment